World
World
Underwater Photography Tips
For me, getting beneath the surface is one of the most interesting ways to take photographs. It involves putting yourself in a completely different and unusual environment, and allows you to share your experiences and perspectives of a world rarely seen by others. It might not be the easiest of places to take a camera into, but these basic tips will hopefully inspire you and help you capture better photos when you’re floating in the big blue sea.

What Camera?
As an Olympus Visionary I am fortunate enough to have access to high-end professional cameras and dive housings, but that doesn’t mean you can’t take good underwater photos with much less. There is a whole range of small cameras that can be taken underwater without any extra housing. With technology improving at rapid speed, these gadgets can take excellent images, plus they’re much more compact, easier to use and don’t distract as much from the experience.
I recommend the Olympus Tough series if you want a camera that can be taken on every adventure into all kinds of environments. The latest model is the TG-4. It weighs about 250 grams, is shock proof (just in case you bump it on rocks or a jetty as you’re getting in – investing in a silicone jacket is always a good idea though) and waterproof up to 15 metres, so it’s perfect for snorkelling, surfing and most dives. These point-and-shoots really take the complications away and allow you to focus on what you’re actually supposed to be doing: having fun!
You might also want to invest a few dollars in a neoprene wrist strap. Even if you manage to let go of your camera before you safely slip your hand through the loop, this will float it to the surface of the water for easy retrieval.
Let There Be Light
If you’re not diving in the clearest water on the planet you might find that there isn’t much light below the surface. Most compact cameras have a little built-in flash that can help bring out colours and add the extra light needed to capture the underwater scene. Be aware, however, that straight flashlight can illuminate all the tiny particles floating between you and the subject. As well as making your image look as though it’s covered in tiny, bright dots it can confuse the camera’s auto-focus. Which leads me to my next tip…

Fill The Frame
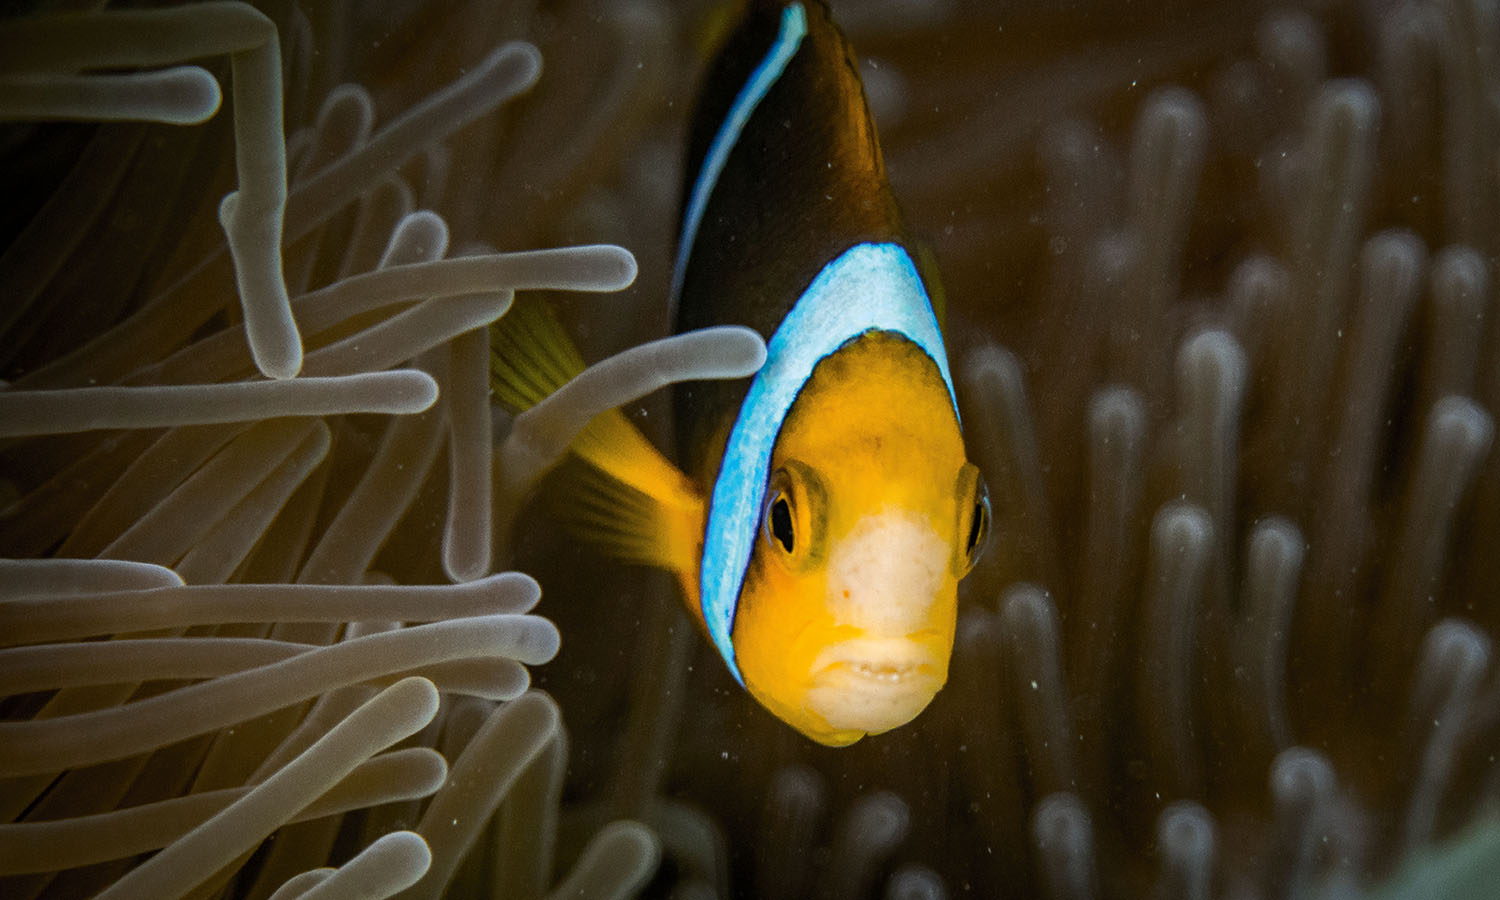
There are two types of underwater shots you should concentrate on perfecting when you first have a go at the medium. The first one is close-up (macro) shots of fish and details in coral. Get as close as you possibly can (it’s even better if you are on the same level as them) to reduce the amount of water and floating specks between you and your subject.
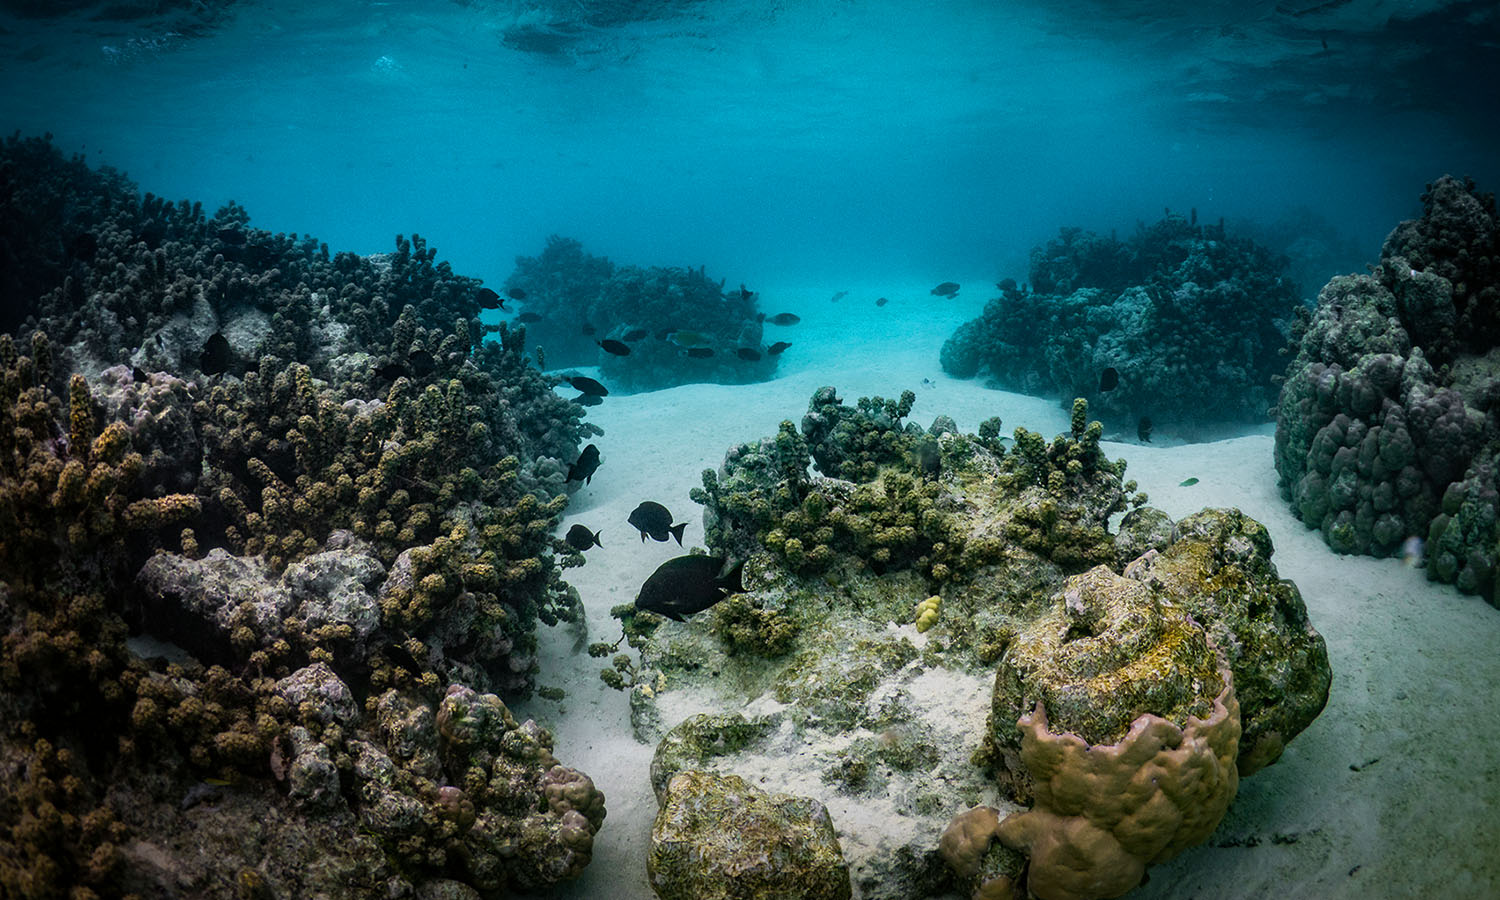
Then there are scenic underwater landscapes taking in corals, kelp forests or any other interesting feature below the surface. Obviously you’ll need to be in really clear water for these kinds of shots. Try shooting these types of images with the flash off. Like most compact cameras, the in-built flashes on these waterproof models aren’t particularly strong and the light doesn’t travel very far through the water; it will also eliminate the glowing particle issue mentioned before.
Choose Your Conditions
You don’t need a dive certificate to take underwater photos. I don’t have one. I just train my lungs and shoot a lot while snorkelling shallow reefs. And, in fact, when you’re getting used to how your camera works underwater it’s better not to have to be thinking about how much air you’ve got in your tank. Standing on a sandy bottom while you’re playing with settings isn’t a bad way to get started either.
The main factor to remember is that sunlight is your friend. Slather on the SPF 50 and get in the water when the sun is high overhead. It will shine right down into the depths and help light your underwater landscapes naturally.
It’s also better to shoot up-current as you will reduce the amount of sand you might have kicked up from the ocean floor.

Safety First
It’s easy to get distracted taking pictures underwater, but you should make sure you never put yourself in any danger. Always be aware of the current, waves, tides, the reef and your surroundings above and below the surface. I keep a reference point or two so I know when I’m drifting off course.
Remember you should never touch the coral reef, but if you can find a good sturdy rock at a comfortable depth, grabbing hold of it with one hand (wear lightweight gloves to avoid cuts) can help you steady yourself while you’re taking photos. Above all, stay within your comfort zone – taking pictures can be quite distracting, and if you’re also worried about being dragged away by a rip you won’t have fun or take any good photos.
Get Creative
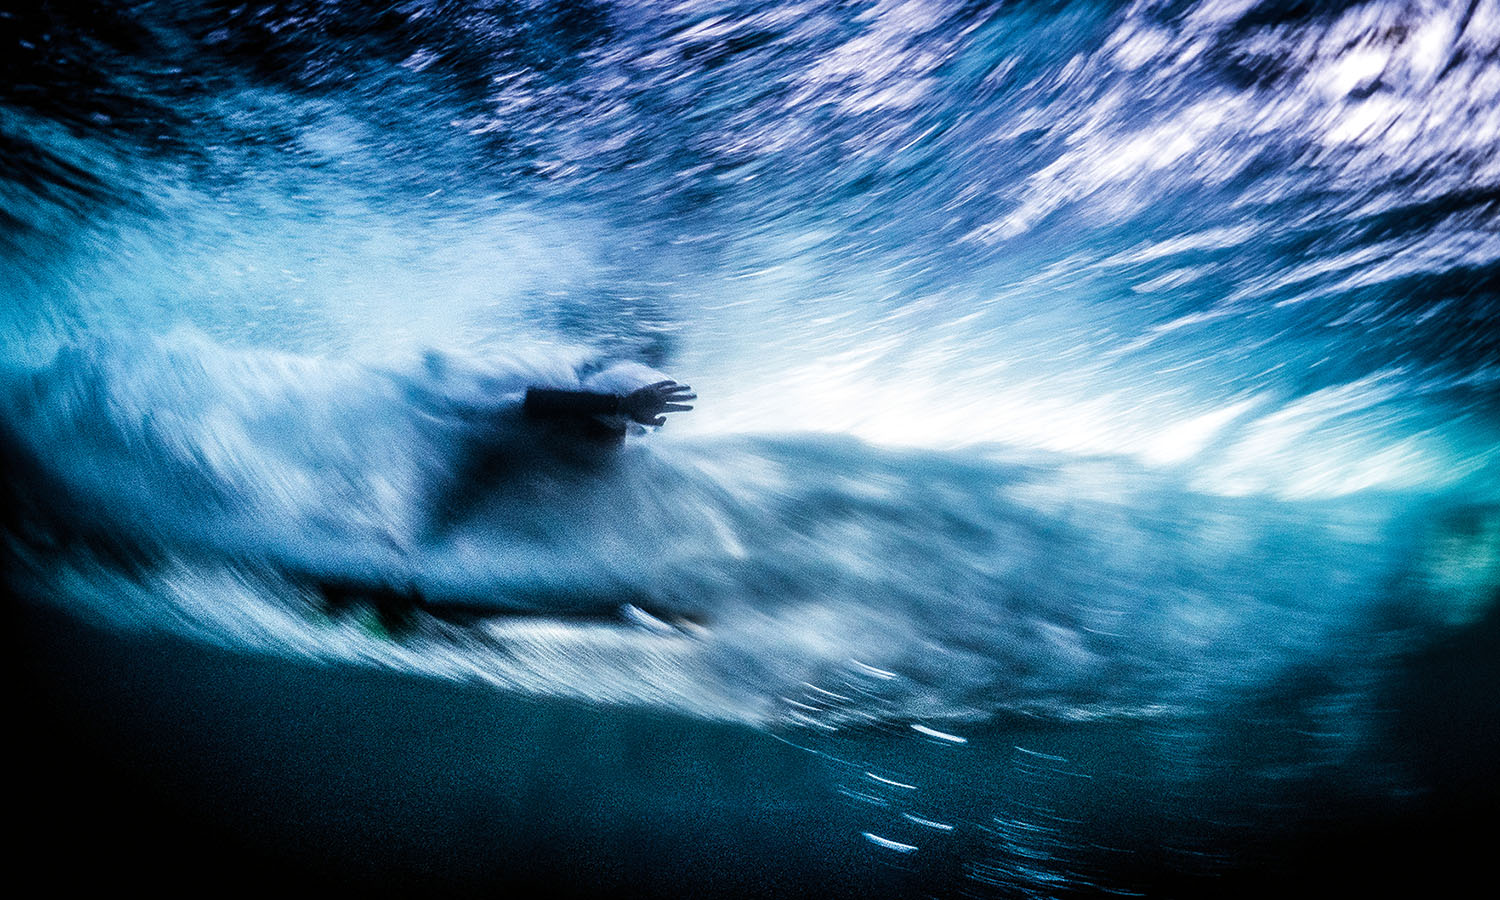
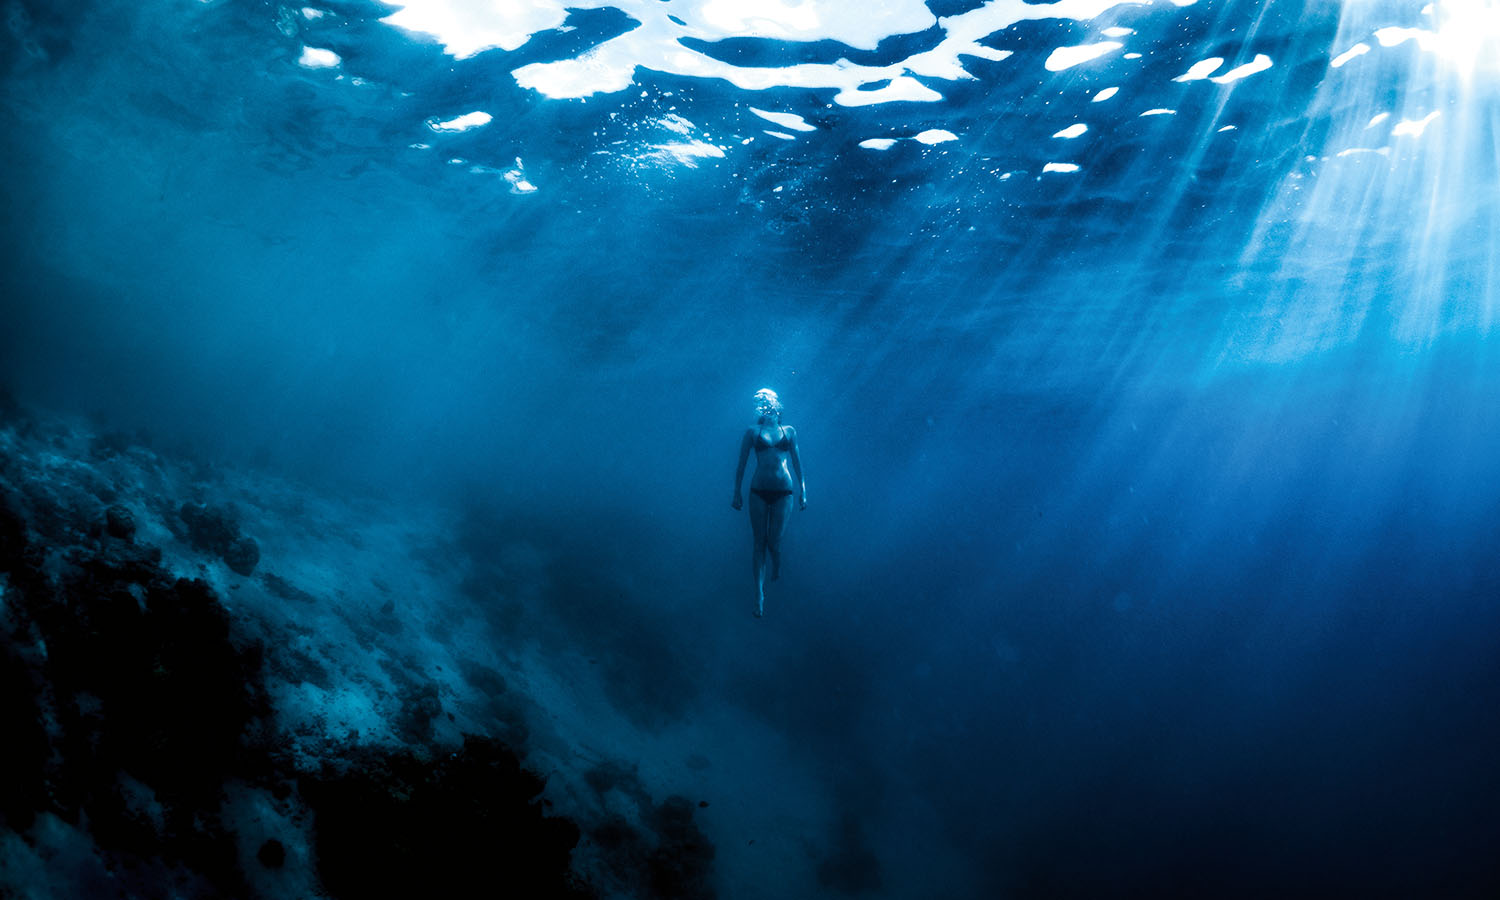
There’s more to shoot underwater than what, at first, you might think. Mostly, I’ve mentioned fish and coral, but you should push the boundaries a little. Dive a little deeper, quite literally, and shoot back up towards the surface, or bring subjects or objects with you into the underwater world. For instance, a person wearing a red rashie will be a startling contrast to the blue world around them. Why not shoot some surfers or waves from below the surface? There are other ways you can experiment too: try taking your camera into the water at different times of the day or when it’s raining to see how the changing light and conditions affect your photos. You can also buy yourself a little dive torch to add some artificial light that doesn’t come from your flash. In this digital age, you should just go ahead and shoot as many experimental frames as you like, just to see how the camera works and what you can do with it.

Chris Eyre-Walker is a member of the Olympus Visionary Program, a team of award-winning photographers supported by Olympus.
Words Chris Eyre-Walker
Photos Chris Eyre-Walker
SOLD OUT
Tags: olympus, photo tips, photography, photography tips, travel photography, underwater photography
 (
(


